2017.05.06
 Saturday was an extra pose day (we lost days because of the art exhibition and national holidays.) I was able to complete my long-term pose. It rained most the day. In the afternoon I rested, read and had a FaceTime call with my grandchild’s Olive. Today (May 6) she turns five and begins kindergarten this fall. She is having a party in the park with her ballet and kindergarten school mates (about 20 kids.) I surely wish I was there.
2017.05.07
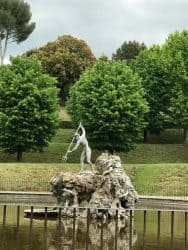
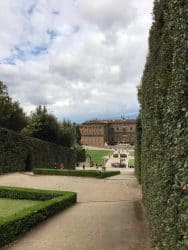
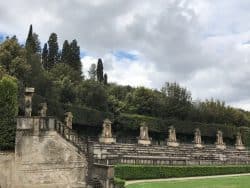
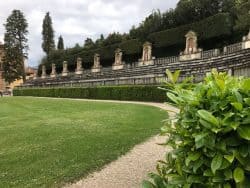
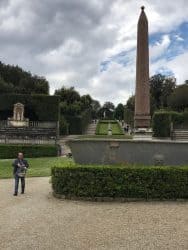
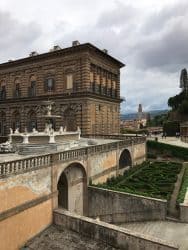
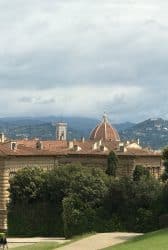
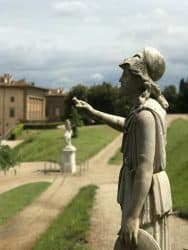
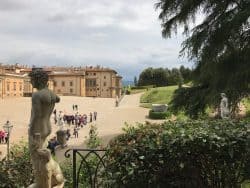
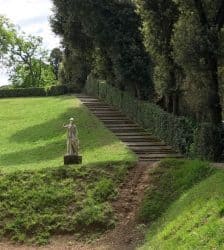
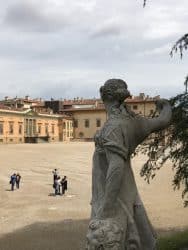
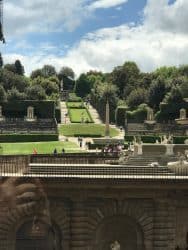
Sunday was spent, as I usually do, walking, going to a museum and thinking and reading about art. I visited the Boboli Gardens and the Palatine Gallery at the Pitti Palace.


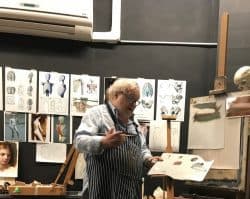
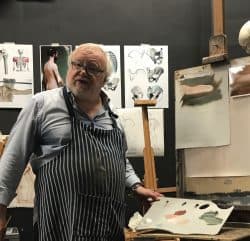
2017.05.08 Term 2 Week 5
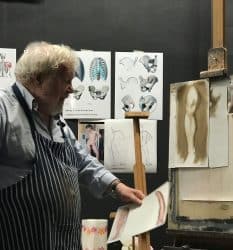
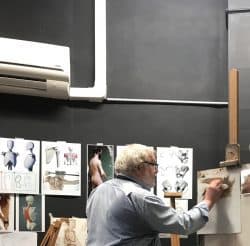
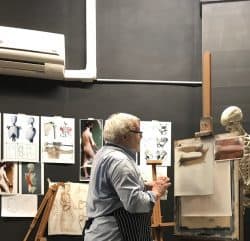
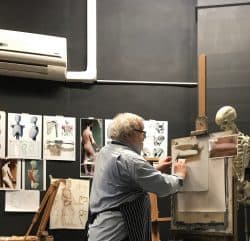
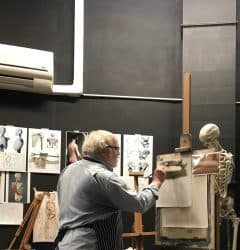
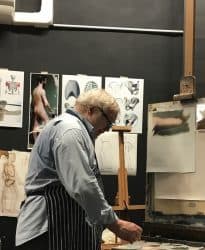
Monday began with a lecture by John Michael Angel on “first painting.” He used as his example the out-stretched arm (which was the subject of the capitura and shading example earlier in the trimester.) The key lessons conveyed:
- The capitura can be acrylic raw umber paint with a bit of water to ensure that oil paints adhere to the surface.
- When looking at the figure, always double check the diagonal relationship of the high points. The human “eye” will move along these high points and decide that the figure is animated.
- Studies can be done on paper. Fabriano is the best paper. Be sure to put 2X gesso ground. Even with this, the first coat of oil will be “clumsy.”
- The capitura will aid in “filling in the weave” of linen substrate
- White paint (titanium oxide) with Liquin additive also needs to have Calcium Carbonate added to ensure it is “long” in structure. Oil paint straight from the tune is “short”—meaning it is difficult to spread.
- His formula for white is titanium oxide with 1/2 calcium carbonate and 1/2 titanium white powder. The titanium white powder has an interlocking molecular structure which ensure opacity.
- The Maestro’s medium is: 2 parts Liquin, 1 part oil and 1 part turpentine.
- Steps in 1st painting
- Step 1: rub medium into painting and allow to dry. Wait several minutes and remove with paper towel—leaving a thin layer of medium. This also evens out the medium over the surface.
- Step 2: Paint in the background. Flesh is a actually a grey-brown. The color of the flesh in the painting is very sensitive to the background color. When painting the background do not paint right to the edge. Remember that the eye always sees the light objects first. It is also important to note that the rods in the eye which perceives color are “fresh” after a good nights sleep. They “see” color more accurately first thing in the morning. As the day progresses, they will not see colors accurately—which means if you are painting when late or with “tired” eyes your color correction may be wrong.
- Step 3: Paint the flesh. The “caucasian” formula is red umber with Red (Persian or Venetian)–with the addition of titanium white. Use burnt or raw umber to darken the flesh tone. When “greying” the color with the umbers make sure to always add the base color to maintain the hue.
- Step 4: Use white to create the highlights
- Step 5: use the background colors to fill to the edges.

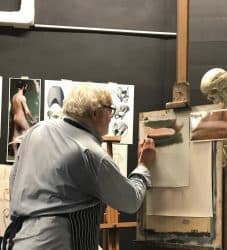
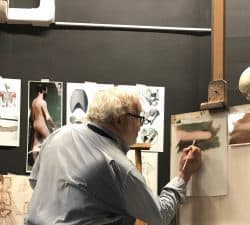
2017.05.09-.05.11 Term 2 Week 5
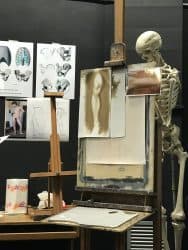
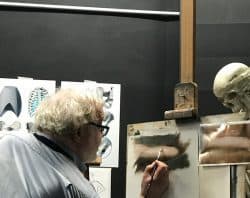
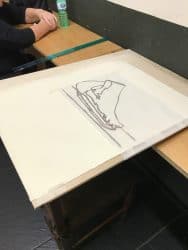
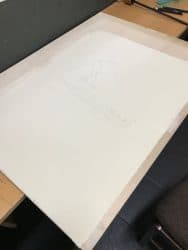
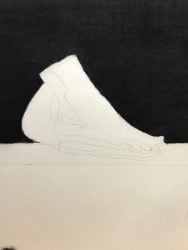
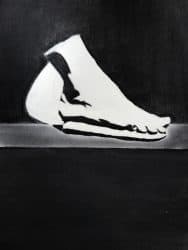
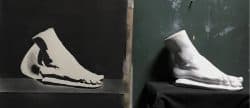
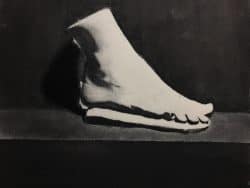
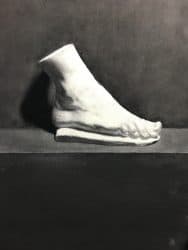
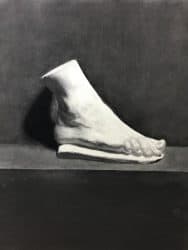
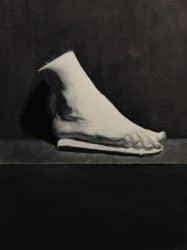
On Tuesday through Thursday I continued work on my charcoal drawing of a plaster foot cast. The process of doing the charcoal is extremely complex. When one is working at close range it is virtually impossible to see the overall affect of each mark—no matter how tiny. In addition, each misplaced “speck” of charcoal is magnified in the overall gestalt of the image when one stands back form the drawing. I hopefully will finish the image next week.
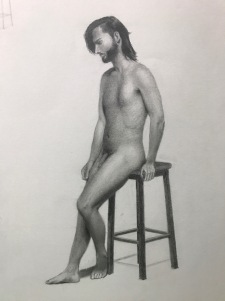
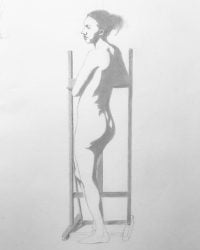
I finished the first week of a three week pose. From the last three week pose I learned:
- I can not use the short bristle brush to rub in the shadow shapes. Instead, I used a soft make-up brush to even out the shadow shapes; and I created the shadow shapes in three layers of lightly added 2B pencil that were each rubbed with the soft brush. This has helped to avoid a patchy look that requires a lot of work to clean with the kneaded erase.
- I have to be extremely observant of the minute changes of direction of the body contours. This is especially crucial where major elements transistion.
- Mistakes in the face, while a very small part in the drawing, telegraphs quickly to the viewer and must be done very slowly with care about the tilt, the angle of the features and the proportion of the head. The viewers eye go to the face first.
- I must pay every close attention to the diagonal relationship between high points (for example calf to knee and small of back to belly).
Overall, I am getting better but will have to do several dozen more of these in order to continue to train my brain to “see” the nuances and relationships.

2017.05.12 Term 2 Week 5
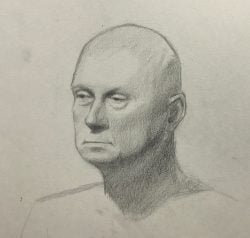
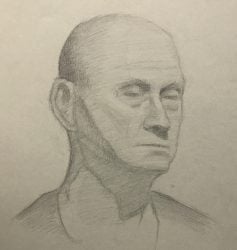
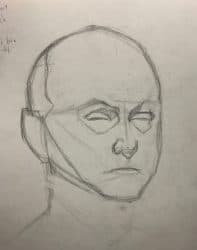
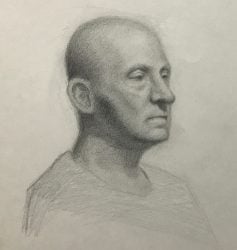
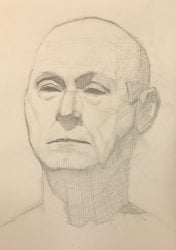
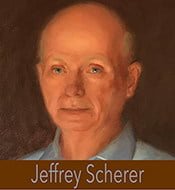
Friday‘s pose session was cancelled because of the model was sick. I volunteered to be the model for a 3 hour portrait session. I posed for 25 minutes with a 5 minute break and one 15 minute “long break” in the middle of the session. It was an interesting experience. I could not move my head–an essential element of anyone posing for artists. The results were fascinating. One thing that I learned is that a “smile” is not normally done in portraits—it is too animating and “of the moment”; is difficult to hold a consistent smile for a long period of time; and the relaxed look of “contemplation” is preferred.


Recent Comments